
Search logs
NXLog Platform’s log search interface is designed to help you analyze your data. To search your data, navigate to Logs > Log search > Log discovery.
Perform a log search
The search toolbar allows you to combine multiple search conditions.
Complete the following steps to perform a search:
-
Navigate to Logs > Log search > Log discovery.
-
Configure your search conditions. You can use the Text search, SQL, or both fields:
-
The Text search only searches the
Message,Hostname,SourceModuleName, andSourceModuleTypefields. -
The SQL search searches all event fields. See Use the query builder for more information.
-
-
Configure the timeframe for your search by doing one of the following:
-
Select a custom timeframe using the date and time picker.
-
Select a relative timeframe using the dropdown.
-
-
Click the Search button to search your logs. If the button is inactive, hover over it to see why.

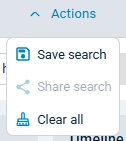
| To reset your search settings, select Clear all from the Actions dropdown. |
Use the query builder
The NXLog Platform log search includes a Query builder to help you create advanced queries.
Complete the following steps to use the query builder:
-
Click on the arrow icon to open the query builder.

-
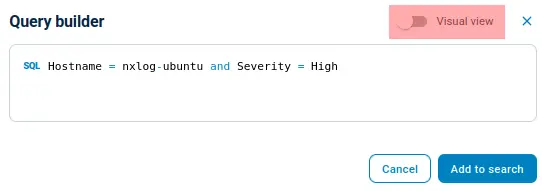
The query builder provides a text or graphical view. You can switch between views by toggling Visual view. Note that changing the view clears the current query.
-
The text view allows you to write SQL queries directly, providing auto-complete suggestions and validating syntax in real-time.
-
The graphical view provides an interactive SQL query builder. It supports specifying comparison rules and grouping rules with
ANDandORoperators.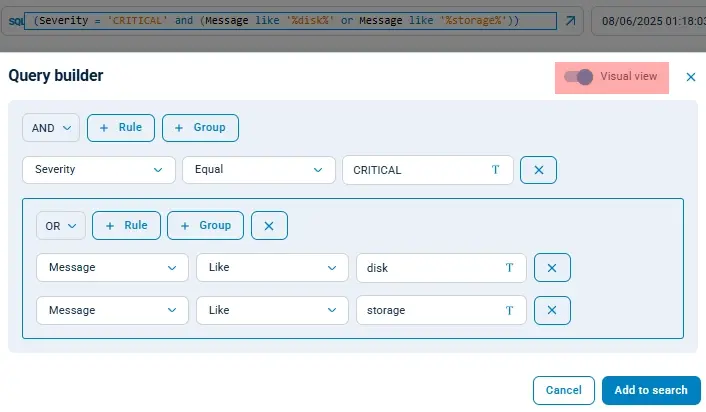
-
-
When ready, click Add to search to save the search conditions and close the Query builder.
Analyzing the search results
When a search returns results, you can use the interface to explore the data.
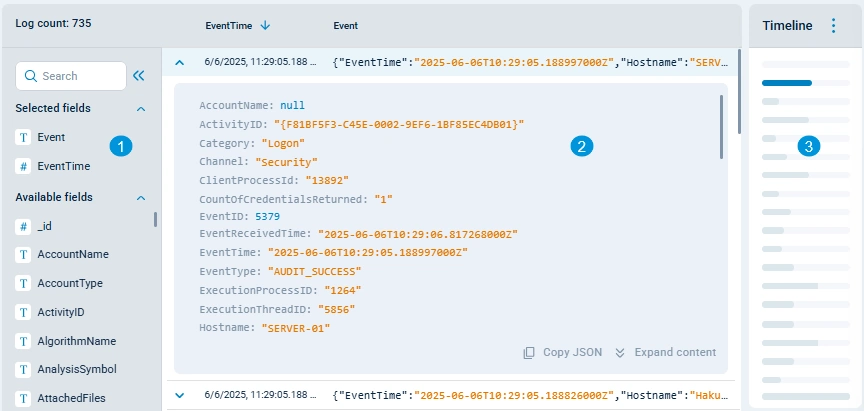
You can drill down on the data by:
-
Changing the fields displayed for each record. Click a field’s icon or drag and drop fields on the sidebar to add, remove or reorder them. You can search for fields using the search component at the top of the fields list. Once you select the fields you want to see, you can collapse the field management panel to maximize the view.
Keep in mind that only time-related fields, such as EventTime, can be used to sort the table columns. -
Expanding a record to view all its fields. You can also copy the record in JSON format.
-
Using the Timeline to show results for a specific interval. Click on an individual bar or select multiple bars to restrict the displayed information to that interval. You can also hover an individual bar to view the statistics for that interval. Use the … dropdown menu to hide or move the timeline.
Save a log search
Complete the following steps to save a search:
-
Navigate to Logs > Log search > Log discovery.
-
Configure the search conditions. Keep in mind that saved searches only include the Text search and SQL fields, not the timeframe fields.
-
Click the Actions dropdown and select Save search.
-
Enter a Name for the saved search and indicate if you want to allow other users within your organization to use this search.
-
Click the Save button.
| To load a saved search later on, click on Saved searches and select the name of the saved search. |
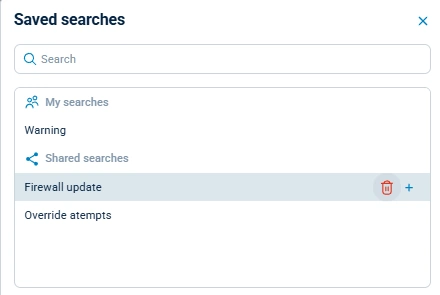
Delete a saved search
You can delete a saved search if it’s no longer needed.
| Deleting a shared search deletes it for all users. |
To delete a saved search, complete the following steps:
-
Navigate to Logs > Log search > Log discovery.
-
Click the Saved searches dropdown.
-
Click on the delete icon for the search you want to delete.
-
Click Delete to confirm.