
Organization management
To view and update your organization settings, click Organization overview from the left navigation menu. On this page, you can view your data source quota and the number of active users. You will also find links to the Customer Portal to:
-
View your subscription plan.
-
Manage NXLog Platform users.
-
Change your organization’s contact information.
-
Configure your organization’s security policy.
-
Delete your organization.
Overview
The Overview page displays the number of used and available data sources against your license quota, as well as user statistics. For details on how data sources are counted against your quota, see Data source counting.
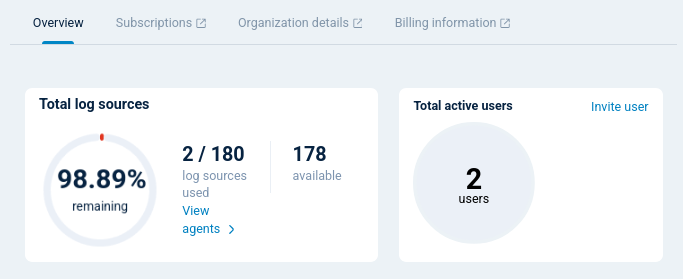
| Widget | Description |
|---|---|
Remaining |
The percentage of unused data sources from your licensed sources. |
Log sources used |
The number of data sources used against your quota. |
Available |
The number of unused data sources. |
View agents |
Redirects to the Agents view. |
Total active users |
Displays the number of active NXLog Platform users in your organization. |
Invite user |
Use the Invite user link to invite new users to your organization. See Invite users for more information. |
Selecting any other tab opens the Customer Portal with the functionalities described in the following sections.
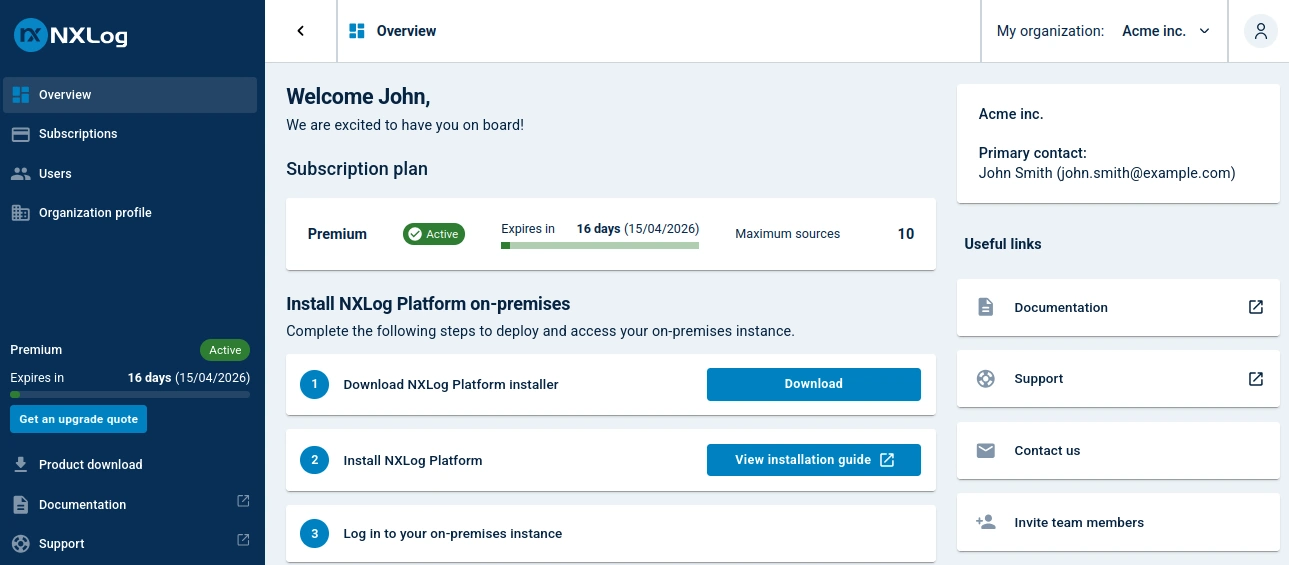
Customer Portal
The Customer Portal is the central hub for managing your organization’s account. The following sections describe each area in detail.
Overview
The Customer Portal Overview page provides a centralized view of your organization. It includes information about your subscription plan, installation resources, and useful links to get you started.
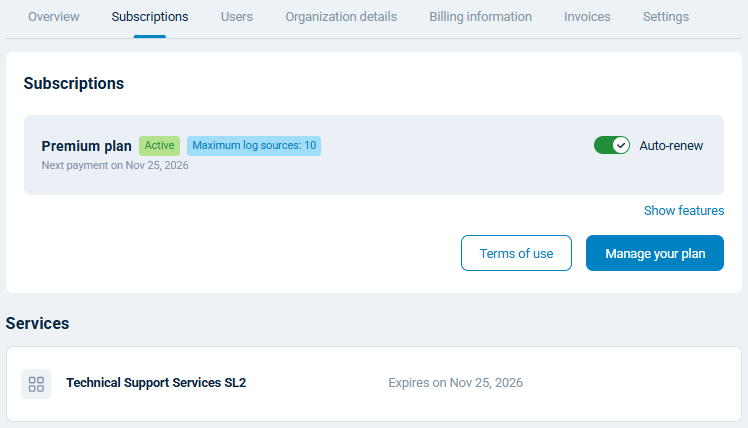
Subscriptions
The Subscriptions page provides information about your current plan and service contracts. Use Get an upgrade quote to request information about expanding or renewing your plan.
Users
The Users view lists users added to your NXLog Platform organization. You can search, invite, activate/deactivate, and delete users from here.
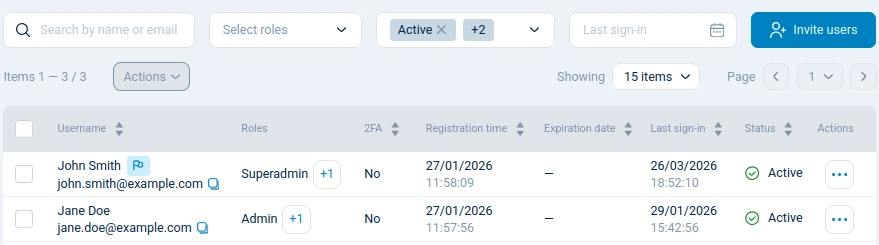
| Widget | Description |
|---|---|
Search panel |
Filter users by name, email address, role, account status, or last sign-in time. |
Invite users |
Use the Invite users dropdown to add new users to your organization. See Invite users for more information on inviting new users. |
Users table |
Lists your organization’s users, their roles, and account status. |
Actions |
Select one or more users to activate the Actions dropdown. Depending on the selected users, you can:
|
Organization profile
The Organization profile page is where you can view and update your organization’s contact information, security settings, or delete the organization.
| Tab | Description |
|---|---|
Basic information |
Allows you to edit the organization name. 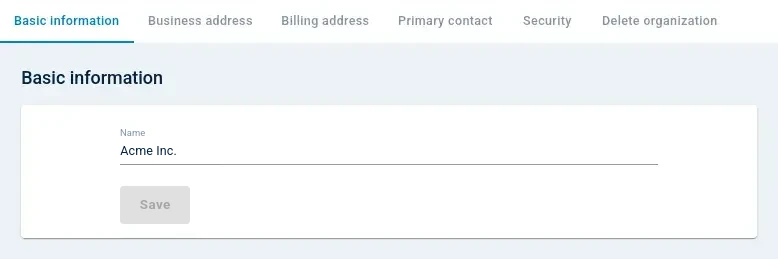
|
Business address |
View and update the organization’s contact information. 
|
Billing address |
View and update the billing information that will appear on your invoices. You can also manage the recipients of NXLog Platform purchase invoices. 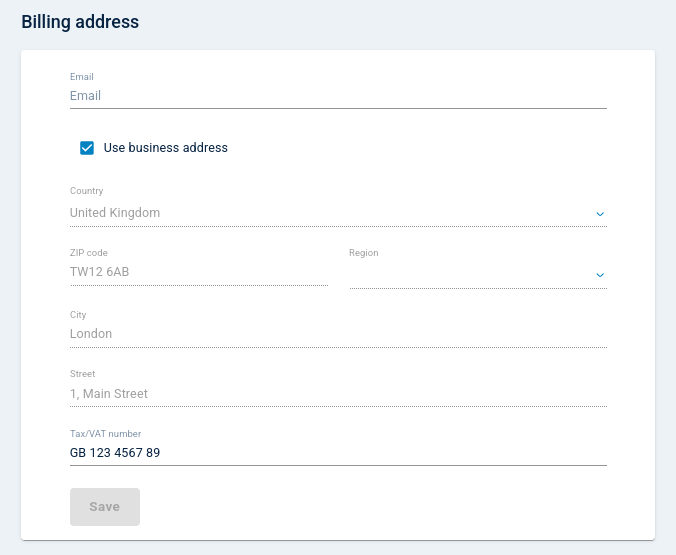
|
Primary contact |
Defines the user responsible for the organization. 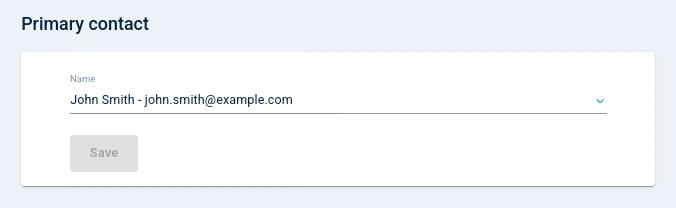
|
Security |
Configure two-factor authentication for your organization. 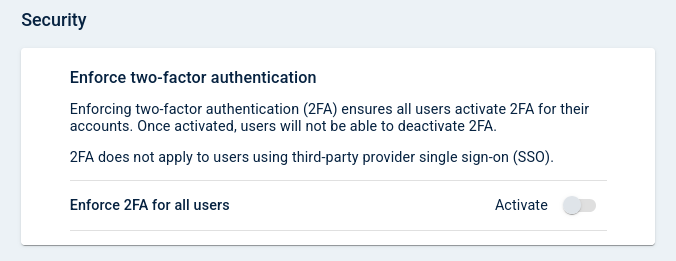
|
Delete organization |
Permanently removes your organization, including all configuration settings, data, and logs. 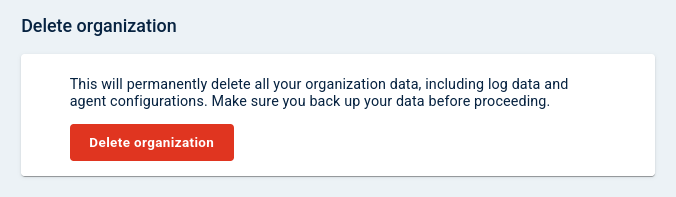
|