Create and save a filter
Filters add an extra layer of functionality to log searches, allowing you to drill down search results further by specifying additional parameters. You can save filters in your personal filter library or share them across your organization to simplify log analysis and provide a consistent auditing tool. There is also an undo button and the possibility of grouping filters to make the precedence of the operators explicit.
Create a filter
Follow these steps to create and save a filter:
-
Navigate to Log Search > Log discovery.
-
In the Search panel, click the + button, then select Add filter.

-
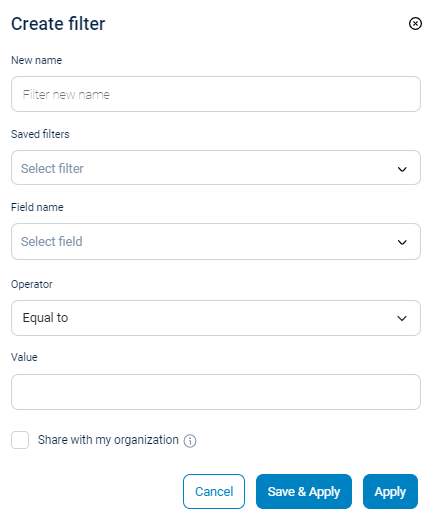
Enter a filter name and select the filter settings. See Filters for more information.
-
Optionally, check the Share with my organization checkbox if you want the filter to be available for all users in your organization.
-
Click Save & Apply to apply the filter and save it for future use, or Apply to apply it to the current search only.
Create a filter group
Follow these steps to create and save a filter group:
-
Navigate to Log Search > Log discovery.
-
In the Search panel, click the + button, then select Create group.

The following appears in the Search panel:
-
A new filter group named
Group#1. -
An undo button.

-
-
To add a filter to the filter group, click the + button in the filter group, then follow the procedure explained above in the Create a filter section.

-
If you’re adding multiple filters or groups, select the
ANDorORoperators between your filters or filter groups.
Create a filter in advanced mode
Follow these steps to create a filter in advanced mode:
-
Depending on the type of logs you are interested in, navigate to:
-
Audit logs for internal NXLog Platform audit logs.
-
Log Search > Log discovery for your organization’s logs.
-
-
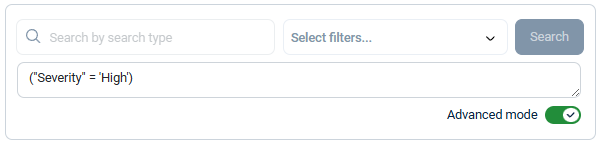
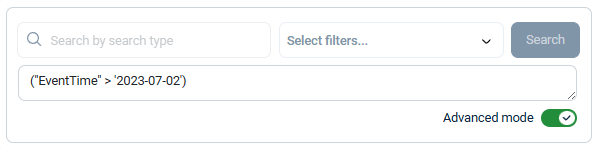
In the Search panel, toggle the Advanced mode switch.

-
Type your query string in the query field.

The results of your query automatically appear if the query is valid.
Examples
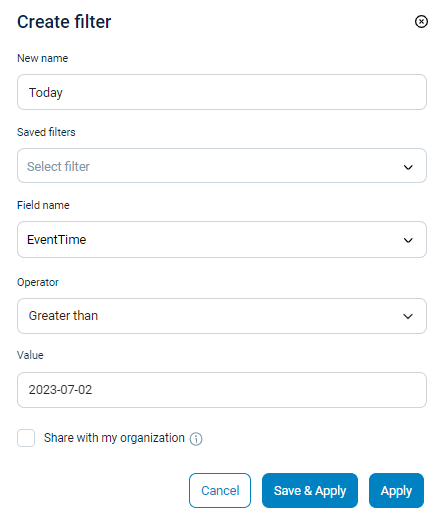
This filter uses the EventTime field and Greater than operator to retrieve all events logged after July 2, 2023.
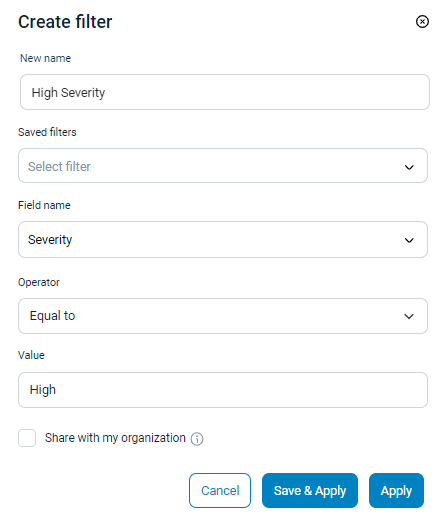
This filter retrieves all high-severity events using the Severity field and the Equal to operator.