
Enable GitLab.com authentication
To enable Single Sign-On (SSO) with GitLab.com, you must first create a GitLab application. You will then use your application’s ID and secret to link NXLog Platform to GitLab.com.
| NXLog Platform doesn’t support SSO integration with GitLab Self-Managed. |
Prerequisites
Before proceeding, ensure you have the following:
-
Configured the NXLog Platform mail server settings.
Create a GitLab.com application
-
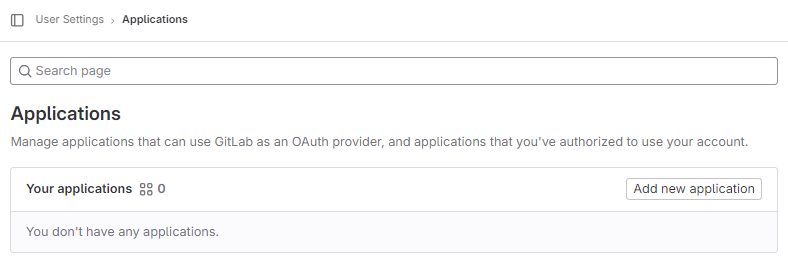
Log in to your GitLab.com account, click on your avatar, and navigate to Edit profile > Applications.
-
Click the Add new application button under Your applications.
-
Enter an application Name. For example,
NXLog Platform. -
Specify the Redirect URI
https://auth.nxlog.example.com/landing, replacingnxlog.example.comwith your NXLog Platform domain. This is where GitLab.com will redirect users after authorization. -
Enable the Confidential checkbox.
-
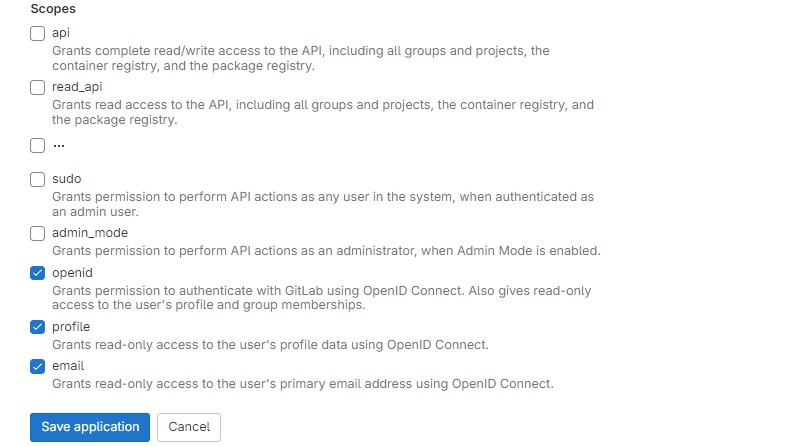
Under Scopes, select the openid, profile, and email options.
-
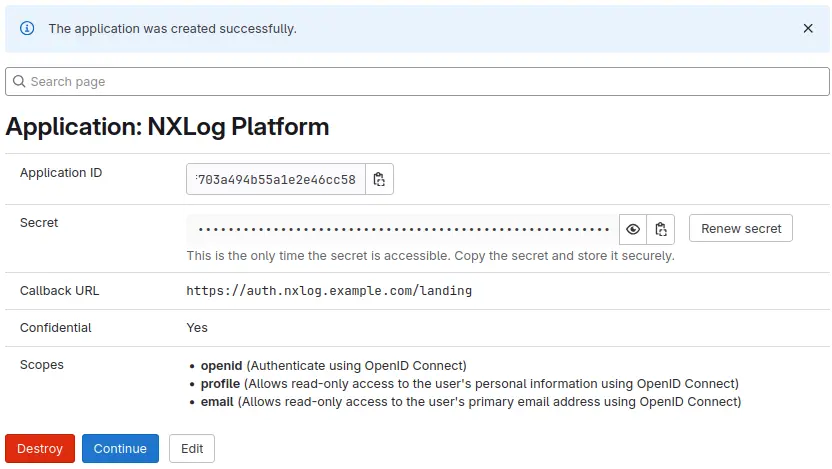
Click Save application. Your new application information will be displayed. Take note of the Application ID and Secret; you will use these to link NXLog Platform to GitLab.com.
-
Click Continue to go back to your Applications page.
Link NXLog Platform to GitLab.com
-
Log in to NXLog Platform and navigate to Administration > Tenant operations > System settings.
-
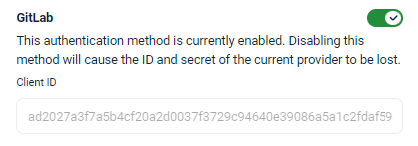
Look for the GitLab section under Third-party authentication settings.
-
Enter your GitLab.com application ID and secret in the Client ID and Secret fields.
-
Enable the switch (green). NXLog Platform hides the Secret and enables SSO authentication with GitLab.com.
Invite users to NXLog Platform
Before users can sign in using GitLab.com, you must invite them to NXLog Platform using their email address, and they must accept the invitation to create an account. See Manage organization users for more information.